If you’ve recently upgraded to Windows 11, you may have noticed that even high-end SSDs can slow down over time. Optimizing your SSD isn’t just about getting faster speeds—it also helps your drive last longer and keeps your system running smoothly. While Windows 11 has built-in tools to manage storage, knowing the right optimization techniques can make a real difference in boot times, app responsiveness, and overall system stability.
This guide will show you how to recognize when your SSD needs attention, step-by-step optimization methods, and practical storage cleanup strategies. Following these tips will help you maintain a fast, reliable Windows 11 PC while keeping your SSD healthy for years to come.
Understanding SSDs in Windows 11
Solid-state drives (SSDs) work very differently from traditional hard drives. While HDDs rely on spinning disks and moving parts, SSDs use flash memory to read and write data almost instantly. This makes SSDs faster, quieter, and more energy-efficient—but they also need different care to perform their best.
Windows 11 is built to work seamlessly with SSDs. Features like TRIM help the system remove deleted files completely, freeing space for new data. Wear leveling spreads out write operations evenly, preventing specific memory cells from wearing out too quickly.
Managing your storage properly is essential. Filling an SSD to the brim can slow it down, and heavy writing without optimization can shorten its lifespan. Windows 11’s NTFS file system works well with SSD technology, but small manual adjustments—like tweaking virtual memory or controlling startup programs—can noticeably boost speed. Understanding these basics is the first step to keeping your SSD performing at its peak.
Signs Your SSD Needs Optimization
Even the fastest SSD can lose its edge if it’s neglected. Keep an eye out for these warning signs:
Slow boot times or app loading: Programs or Windows itself feel sluggish.
Low storage alerts: Frequent warnings indicate cluttered storage.
System freezes or stutters: Random lags suggest fragmented files or background processes straining your SSD.
Seeing these issues doesn’t mean your drive is failing—but it is a signal that optimization is overdue. Taking action now can prevent long-term performance drops, keeping Windows 11 smooth, responsive, and ready for everyday tasks.
Pre-Optimization Steps
Before diving into optimization, a few preparation steps can save time and avoid headaches:
Back up your data: Use Windows Backup, OneDrive, or Google Drive. Even small tweaks can occasionally go wrong, so a backup protects your files.
Update Windows 11: Microsoft regularly releases updates that improve SSD handling, optimize storage, and fix bugs.
Check SSD health: Tools like CrystalDiskInfo or the built-in Optimize Drives utility show your SSD’s health. Keep an eye on metrics such as “Total Host Writes” or “Reallocated Sectors Count” to understand wear and longevity.
Completing these steps first ensures your system is ready for optimization. A healthy, backed-up SSD with the latest updates is easier to fine-tune and less likely to run into issues during the process.
Windows 11 SSD Optimization Steps

Optimizing an SSD involves a mix of Windows’ built-in features and simple manual tweaks. Follow these steps for better speed and stability:
Enable TRIM
TRIM tells Windows which data blocks are no longer needed, preventing unnecessary writes and keeping performance high.
Open Command Prompt as administrator
Type:
fsutil behavior query DisableDeleteNotifyResult
0means TRIM is active
Disable Disk Defragmentation
Defragmenting is unnecessary for SSDs and can reduce lifespan. Confirm in Optimize Drives that scheduled defragmentation is disabled.Adjust Virtual Memory (Pagefile)
Windows uses a pagefile as extra memory. For SSDs, the system-managed pagefile works well, but you can customize it:
Open System Properties > Advanced > Performance Settings > Advanced > Virtual Memory
Set a size around 1.5x–2x your RAM
Enable Write Caching
Write caching temporarily stores data in RAM before writing to the SSD for faster performance:
Device Manager > Disk Drives > Properties > Policies
Check “Enable write caching”
Turn Off Unnecessary Indexing
Indexing speeds up searches but increases writes. Disable it for folders you rarely search:
Right-click folder > Properties > Uncheck “Allow files to have contents indexed”
Manage Startup Programs
Too many startup programs can slow down your SSD. Use Task Manager > Startup to disable unnecessary items.
Following these steps will improve boot times, app loading speed, and overall system stability. Your Windows 11 SSD will feel faster and more responsive immediately.
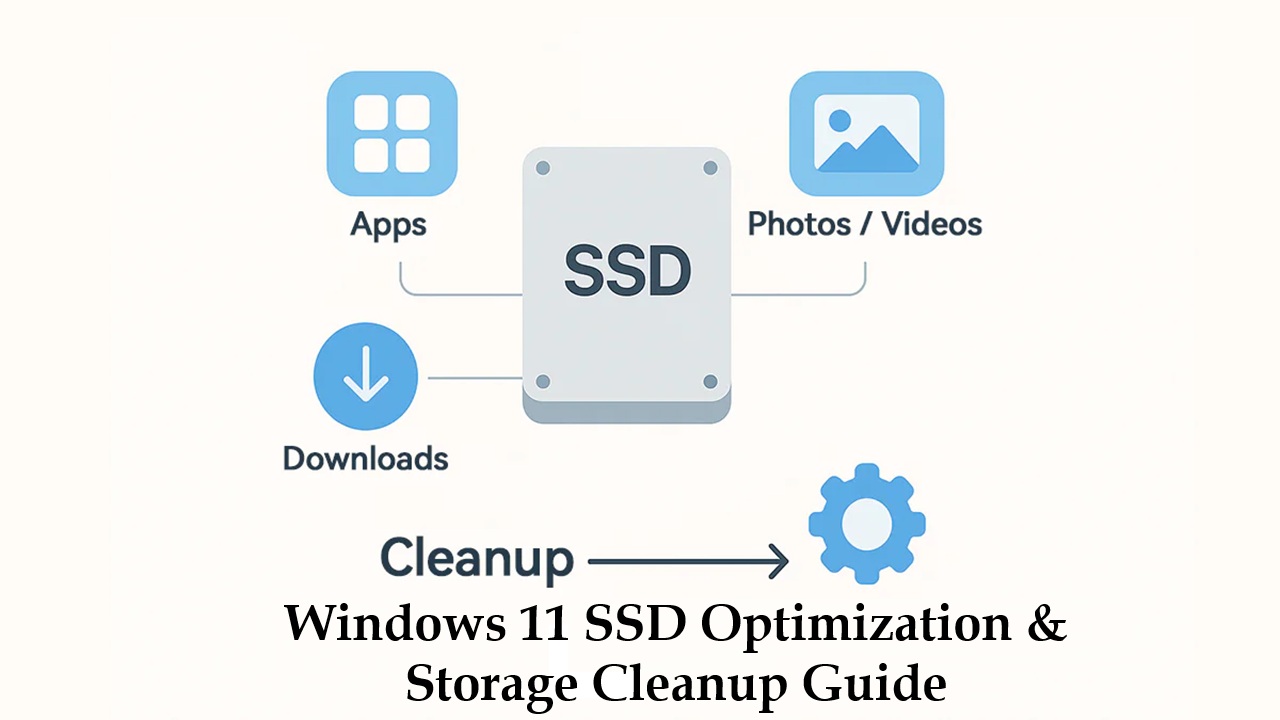
Storage Cleanup Guide in Windows 11
Keeping your SSD tidy is just as important as optimization. Windows 11 offers several tools to help:
Use Storage Sense
This automates cleanup:
Settings > System > Storage > Storage Sense
Enable it and set a schedule for temporary files, Recycle Bin, and Downloads
Delete Temporary Files Manually
Manual cleanup can be faster:
Settings > System > Storage > Temporary Files
Remove cache, logs, and leftover updates
Uninstall Unused Apps and Bloatware
Remove programs you don’t need:
Settings > Apps > Installed Apps
Review large or rarely used programs and uninstall
Clear Browser Cache
Browsers store temporary data:
Chrome: Settings > Privacy > Clear Browsing Data
Edge: Settings > Privacy, Search, and Services > Clear Browsing Data
Move Files to External Storage or Cloud
Store large files outside your SSD:
External HDD/SSD
Cloud storage like OneDrive, Google Drive, Dropbox
Regular cleanup boosts performance, prevents storage warnings, and reduces unnecessary SSD wear. Combined with optimization, it keeps Windows 11 running efficiently.
Advanced Tips for Power Users
For those wanting maximum SSD performance:
Update SSD Firmware
Manufacturers release updates that enhance speed, reliability, and compatibility. Check your SSD vendor’s website or software regularly.Use Third-Party Tools
Software like Samsung Magician, Crucial Storage Executive, or Intel SSD Toolbox provides performance tests, secure erase, and over-provisioning features. Follow the instructions carefully.Monitor SSD Health
Track total bytes written, wear leveling, and error counts. CrystalDiskInfo or Windows utilities provide quick insights to catch issues early.Minimize Unnecessary Writes
Frequent writes reduce SSD lifespan. Avoid constantly moving large files, disable excessive logging, and redirect temporary files to other drives.
These steps ensure your SSD remains fast, reliable, and long-lasting, letting Windows 11 perform at its best for years.
Common Mistakes to Avoid
Even experienced users make errors that harm SSD performance:
Over-defragmenting your SSD: Unlike HDDs, SSDs don’t need it, and it reduces lifespan.
Disabling TRIM: Turns slower write speeds and premature wear.
Ignoring storage warnings: Running near full capacity slows down the drive.
Installing programs on a nearly full SSD: Large apps or games can cause stutters and slowdowns.
Even when upgrading to new operating systems, like performing a Windows 12 download or using a Windows 12 ISO download, avoiding these mistakes ensures your optimization efforts are effective and keeps Windows 11 running smoothly.
Conclusion & Final Thoughts
Optimizing your SSD and keeping storage clutter-free are key to a fast, stable Windows 11 experience—or even when preparing for upgrades like Windows 12 ISO. Following this guide—from enabling TRIM and adjusting virtual memory to using Storage Sense and removing unwanted files—can improve boot times, app responsiveness, and SSD longevity, ensuring your system is ready if you decide to try a Windows 12 ISO in the future.
Routine maintenance is essential: don’t wait for slowdowns to act. Regularly check your SSD, clean up storage, and apply optimization tweaks to keep your system running smoothly.
Start today, and enjoy a quicker, more reliable Windows 11 PC. Share this guide with friends or bookmark it for ongoing tips to keep your SSD healthy and your system in top shape.